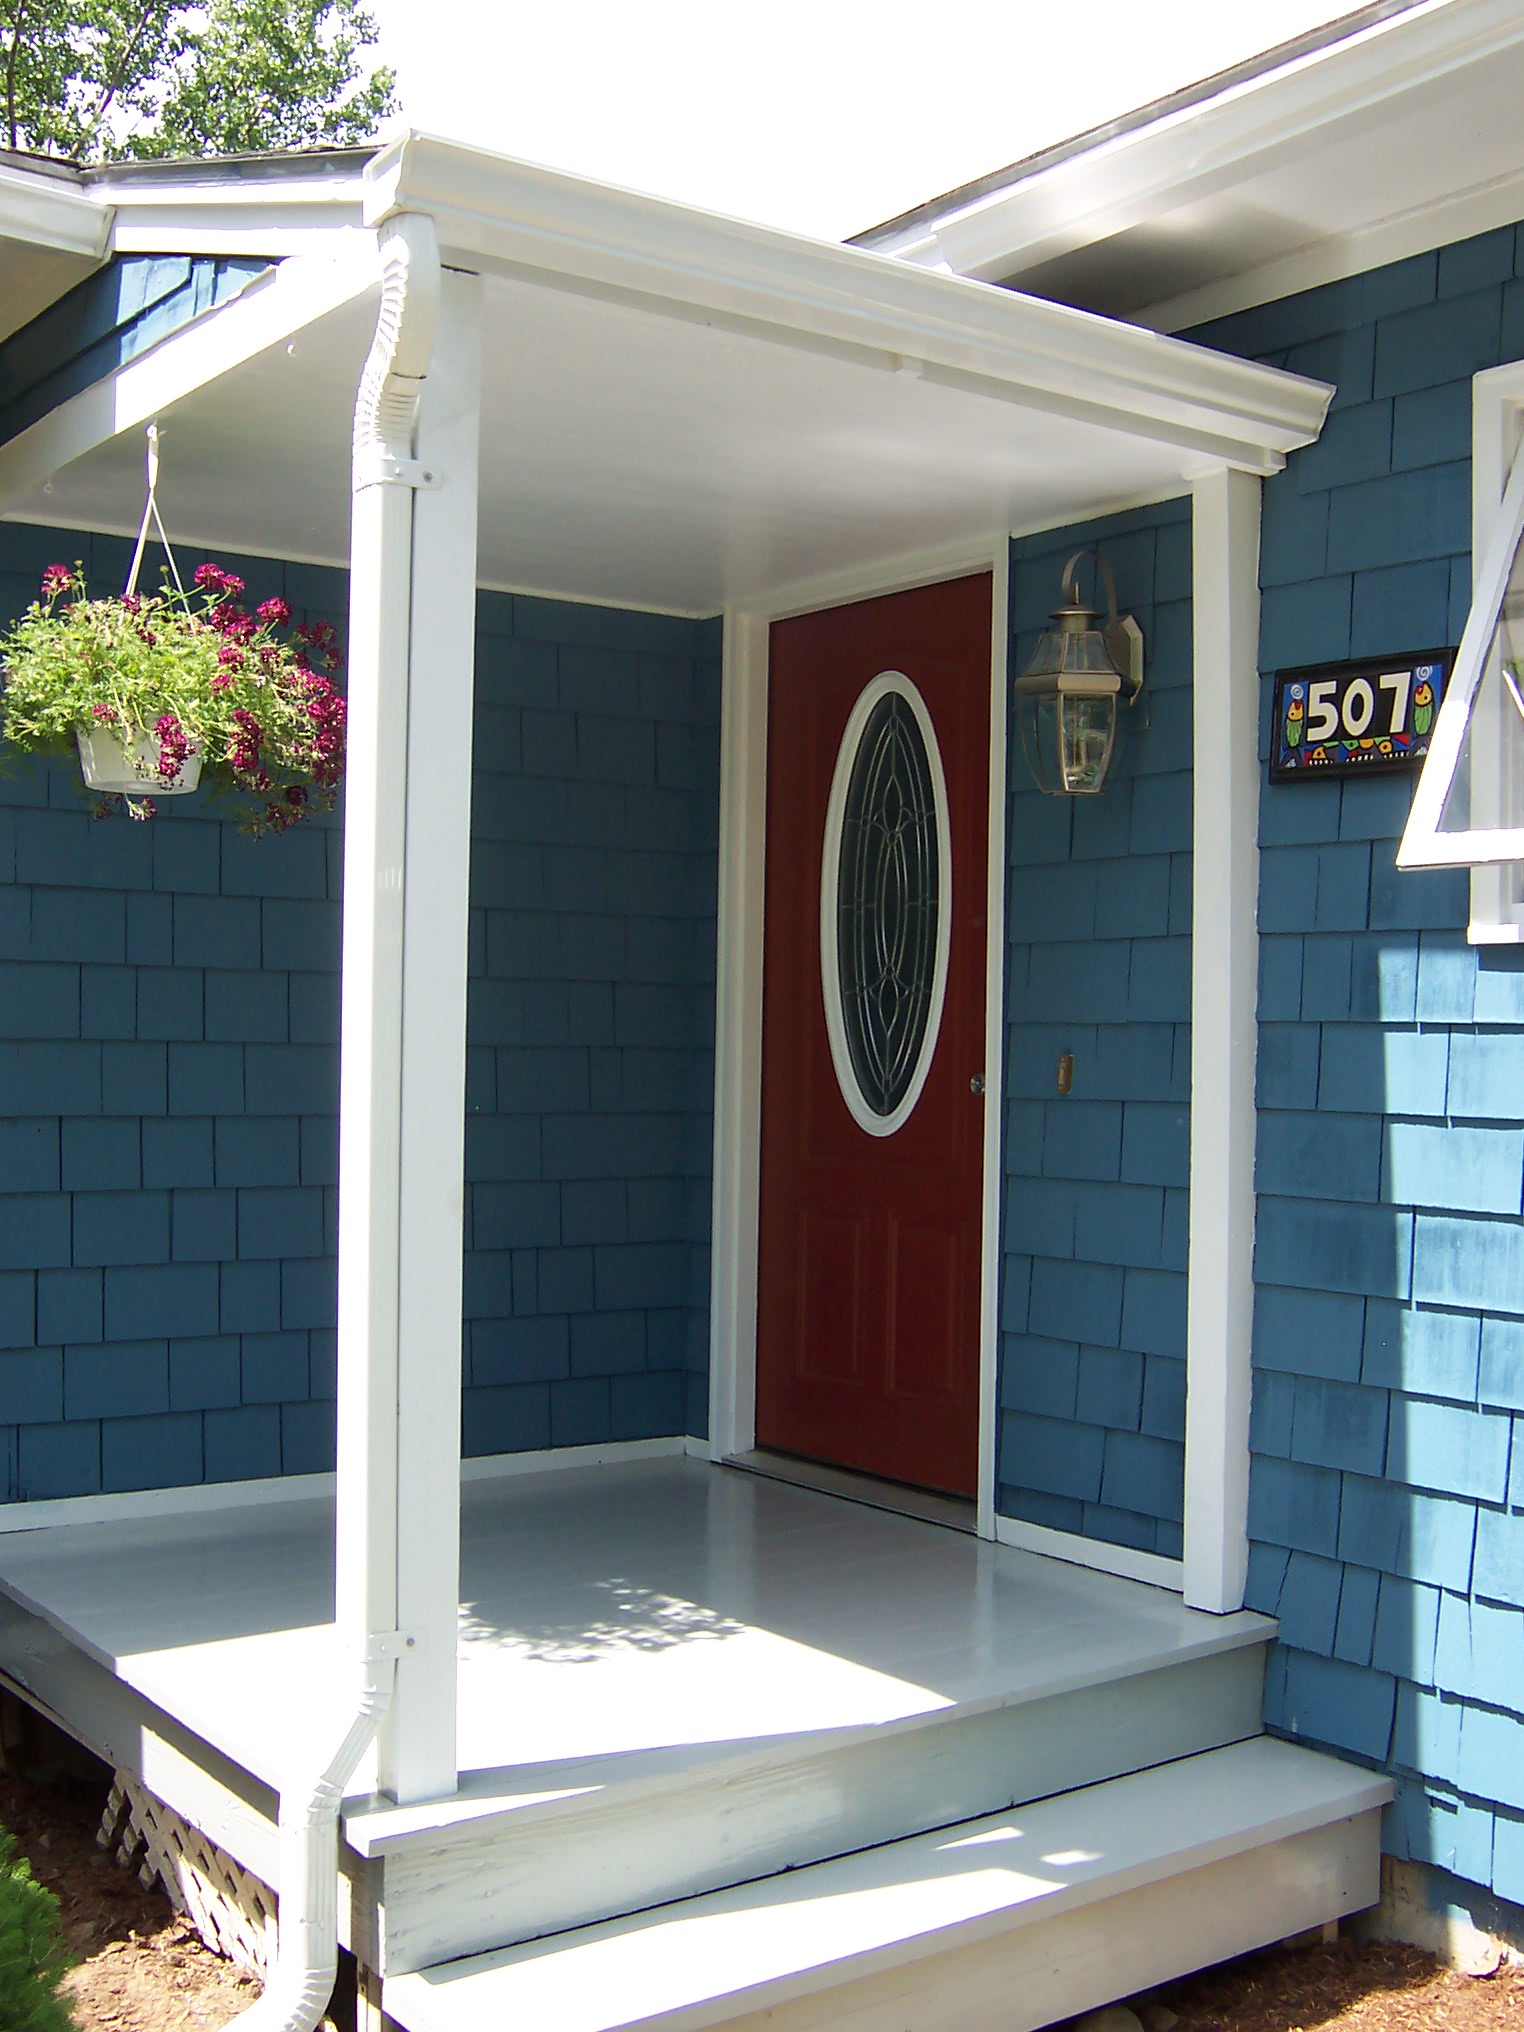
Painting your front door can seem like a daunting task. But the allure of having a freshly painted door in that new trendy hot-magenta color is just too much to bear… what to do. Well, you could call in the pros – We can do a house call to paint a door for about 150-200 bucks – but why not save the cash for a nice dinner out and just paint the door yourself? Here are 5 simple steps you’ll need to follow to guarantee success:
1: Set yourself up for success – like it or not, you’ll need to leave the door open or cracked for at least 4-8 hours to allow for painting time plus dry time. Choose a decent day that will allow for this. Next – REMOVE ALL THE DOOR HARDWARE (except the hinges, of course): The handle, the deadbolt, the knocker if there is one, all of it – painting around it will slow you down, and as we will discuss later, getting slowed down is a good way to fail at this. Finally, lay a drop under your work zone, because well, no one is perfect.
2: Prep makes perfect – Take some time to do a good thorough prep job on the door. It most likely has a fair bit of environmental dust on it and there is usually oil (from everyone’s hands) all around the handle. Clean the door with a good household cleaner. Next, give it a real quick sanding with some 120 grit paper to take down any old paint goops or lint, and use a razor blade to shave off any old drips or runs. If your door has a window, you can tape off the glass, but we find it’s easier to just cut it in – you can always scrape paint off the glass later if you screw up the cut. Give it a final dust-off to get rid of any sanding dust, and you are on your way.
3. Prime if necessary – We find that most doors are in good enough shape with in-tact existing finishes that they do not need a dedicated prime coat. However, it is important to note that if there is any bare wood or metal, or if there is any sign of rust, you need to lay down a quick coat of an appropriate primer before you start painting.
4. Thin your paint – They’ll tell you whatever paint you buy is good to go out of the can. It works, yes, but a little bit of thinning actually dials back the difficulty level of a delicate operation like painting a door quite a bit. It only takes a little – about a tablespoon per quart, but it can vary from paint to paint. Don’t get it too thin or it can run and drip, and the integrity of the paint film can be compromised. The idea is to just give yourself a little bit of an edge in the workability and dry time department.
5. PAINT – Sequence & Speed is CRITICAL!
-Do the edges of the door first – if it is an inswing door, the hinge edge will be painted the exterior color, and if it is an outswing door, the handle edge will be painted the exterior color. Painting the top edge of the door is optional if it is a metal, fiberglass or composite door, but if it is a wood door, you need to paint the top edge for protection (not painting the top edge of a wooden door can void the warranty!). Make sure when you are painting the edges not to get any paint around and on the interior face of the door. Also make sure not to slop paint onto the flat faces of the door as when it dries it can leave unsightly brush marks. If you do get paint on the flat faces of the door, empty your brush of paint and “feather” it out as thin as possible.
-Next – paint any recessed panels and window edging on your door, again making sure not to slop paint onto the flat faces of the door, and feathering it out if you do. Make your brush strokes follow the logical shape of the door; follow the wood grain if your door is wood or printed to look like wood grain. While it pays to move relatively quickly in this step, it is not as critical as it will be in the next step – take your time to make sure you aren’t getting too much paint into inside corners or into edges, as it can drip and sag as the paint dries.
-Finally, Paint the flat faces of the door. You must hustle. It is far better here to move quick, keep it thin and do an extra coat later than to try to slop it on for perfect coverage in 1 coat (this is actually true for all the painting steps btw). Plan which segments of the flat faces will be brushed which way and how you are going to intersect the joints before you start painting, then hit it. Lay off the longer segments with full arm length strokes, nice and straight. If you don’t move fast enough, your paint will start to dry and your brush marks will get goopy, and your transitions and intersections will become tacky, brush-marked messes. However, if you keep your wits about you and have set yourself up for success, you should be able to hammer it out, no problem.
-Multiple thin coats are WAY better than 1 thick coat!
When the door is dry to the touch, after all your coats, you can put the hardware back and clean up your mess. Leave the door open for a few hours, and for good measure, rub some mineral oil on the door seals before you shut it for the night – the thin layer of oil won’t harm the paint film, but it will keep the fresh paint from gluing your door shut on you overnight!
Painting a door can be an easy yet rewarding home improvement project, when you Paint Smarter!